
What I am using to watermark videos is Leawo MAC Video Converter. I said Leawo MAC Video Converters are giveaway now, so I got a free one. Learn more about give away video converters.
Now, here we go!
Step 1: Install and run the software.
After installing and running the Mac Video Converter, you will see the following main interface.

Step 2: Do some essential settings
Click "Add " button to load video files you want to convert.
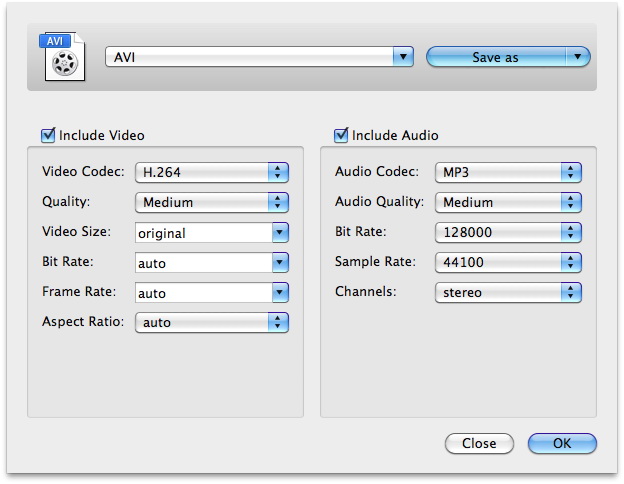
Select each file and choose the output format in "Profile".
Select video and audio quality that you need.
Set an output folder by "Output" for the destination files.
Step 3: Add watermark to your video.
Click "Edit" button, then you can see a window like this.

Click "Watermark", you can add your watermark here now. Check "Enable Watermark", and click "Image Watermark" or "Text Watermark" to add watermark to the video. And you can adjust the transparency, margin, and watermark size.
Higher transparency will make your watermark looked lighter. The margin will control where your watermark placeed on the screen. The watermark size is easy to understand, right?
Step 4: Convert Videos
When you have got ready for the settings for the added videos in the video converter program, you can click
 button to start conversion. Just for a while, the conversion would finish. Then you can have your video watermarked.
Wish it can help you.
Some Free Wedding DVD Cover PSD Templates
Ok, The Newest Leawo Mac Video Converters are Give Away now
How to put videos on iPod freely?
Top Free Video to iPod Converters